
Are you ready to give your home a makeover with new flooring? Installing flooring can seem like a daunting task, but with the right guidance, you’ll have that gorgeous floor in no time. Here’s your ultimate guide to flooring installation right here in Buffalo, NY and Consult with flooring store buffalo ny to ensure proper installation and maintenance of your eco-friendly flooring choice.
Understanding Your Flooring Options
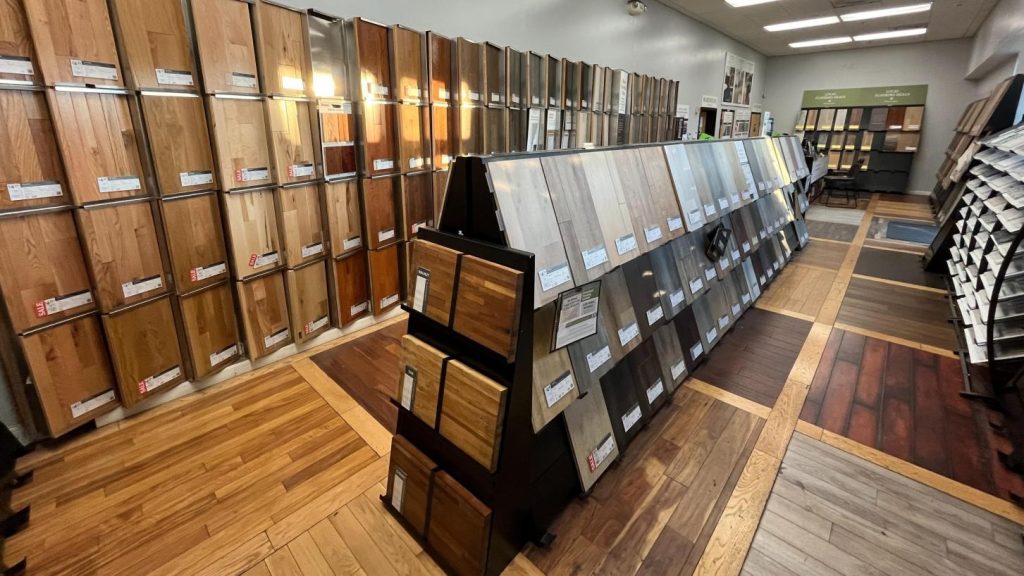
When it comes to choosing flooring, there’s a world of options out there. From hardwood to vinyl, tile to carpet, how do you decide? Think about your lifestyle. Do you have kids or pets? Maybe hardwood isn’t the best choice. Or, do you want something easy to clean? Vinyl might be your buddy. Each material has its perks, so weigh what matters most to you.
Hardwood Flooring: The Classic Choice
Hardwood floors scream elegance. They can last generations, bringing warmth to your home. Plus, Buffalo’s chilly winters make the cozy feel of wood even more appealing. However, keep in mind that hardwood can scratch and may not handle moisture well. If you love the look but want something more durable, engineered wood is a great alternative.
Vinyl Flooring: Affordable and Versatile
Do you want a floor that can take a beating? Vinyl flooring is tough and super easy to install. It mimics the look of hardwood or tiles without the hefty price tag. It’s perfect for kitchens and bathrooms where spills can happen. Buffalo’s unpredictable weather makes vinyl a smart choice since it’s water-resistant.
Tile Flooring: Style Meets Functionality
Tile is another fantastic option, especially for areas prone to moisture. Think bathrooms and kitchens. With tons of designs, colors, and patterns, it’s easy to find something that fits your style. Plus, tile is easy to clean. Just sweep and mop!
Carpet: Soft and Comfortable
If you love the feel of plush carpet underfoot, you’re not alone. Carpeting can add warmth and comfort to any room. It’s great for kids’ playrooms or bedrooms. Just remember that it may require more upkeep. Regular vacuuming and occasional deep cleaning will keep it looking fresh.
Preparing for Installation
Before you grab your tools and dive into the project, a little prep work goes a long way. First things first, measure your space. You don’t want to run out of materials halfway through. Next, make sure the subfloor is clean and dry. A solid foundation ensures a smooth installation.
Gather Your Tools
Got your materials? Great! Now, let’s talk tools. You’ll need the basics like a saw, tape measure, level, and adhesive for certain types of flooring. If you’re going for carpet, a carpet stretcher will help you get it just right.
Clear the Area
Before starting, clear the space where you’ll work. Move furniture out of the way, and don’t forget to remove any old flooring. It’s like putting a fresh coat of paint on a canvas; you need a clean slate.

Step-by-Step Installation Guide
Step 1: Acclimate Your Flooring
Allow your flooring to sit in the room for a few days. This helps the material adjust to the temperature and humidity. Think of it like letting a pizza dough rise before baking; it’ll work out better in the end.
Step 2: Start Laying the Floor
Begin in one corner of the room and work your way out. For hardwood and laminate, you’ll usually start with the longest wall. Use spacers to leave a small gap for expansion. It’s like giving your floor room to breathe.
Step 3: Cut Pieces as Needed
Don’t forget to cut pieces to fit around corners and edges. Measure twice, cut once! If you’re using tiles, lay them out first to see how they fit. This way, you can adjust your layout if needed.
Step 4: Secure the Flooring
Depending on your choice, you may need adhesive, nails, or even a locking mechanism. Ensure each piece is lined up and secure. Take your time; rushing might lead to mistakes.
Step 5: Finishing Touches
Once all the flooring is down, it’s time for the finishing touches. Install baseboards or transitions to give everything a polished look. And finally, celebrate your hard work!
Maintenance Tips for Longevity
Now that your new floor is in place, how do you keep it looking fresh? Regular cleaning is key. Sweep and mop your floors weekly. For carpets, vacuum frequently and schedule deep cleaning every few months.
Be Mindful of Moisture
Buffalo’s weather can be unpredictable. If you’ve installed hardwood or laminate, use area rugs in high-traffic zones to protect them. For bathrooms, ensure good ventilation to avoid mold.
Regularly Check for Damage
Keep an eye out for any signs of wear and tear. If you spot scratches or dents, tackle them quickly. The sooner you address the problem, the better chance you have of keeping your floor looking brand new.
Conclusion: Step into Your New Space
Installing new flooring is like adding the finishing touch to a masterpiece. It transforms your space, making it feel fresh and inviting. Armed with this guide, you’re ready to take on your flooring project in Buffalo, NY. So grab those tools, roll up those sleeves, and step into the new look of your home!
Article Reference:
Tontine Carpet One Floor & Home
1071 Union Road , West Seneca, NY 14224
716-846-1302
Directions:
